Last year I made Room automation with Raspberry Pi and few Arduinos for switching lights and air conditioner on and off using my phone. It required lots of components for accomplishing a simple task. The reason was that Arduino itself cannot connect to wifi and NRF24L01+ module doesn’t support TCP/IP protocol, so I needed Raspberry Pi for wifi connection. Also using new Raspberry Pi for each light switch is just too expensive. This time I used WeMos ESP8266.
ESP866 is an inexpensive Wifi Module for Arduino that supports 802.11 b/g/n protocols and it can also run Arduino code. There are multiple versions of this SOC. Some require serial to USB adapter for programming and some have micro USB port. They also vary by amount of GPIO ports and memory they have.
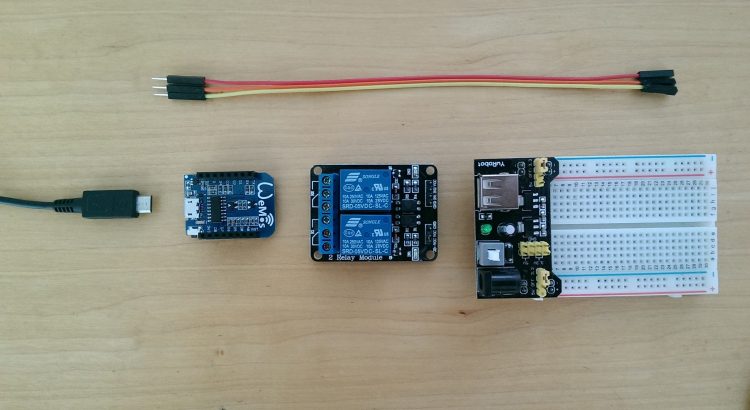
List of parts that I also used for this project:
- WeMos D1 ESP8266
- Relay module
- MB102 Breadboard Power Supply Module
- Old notebooks power adapter
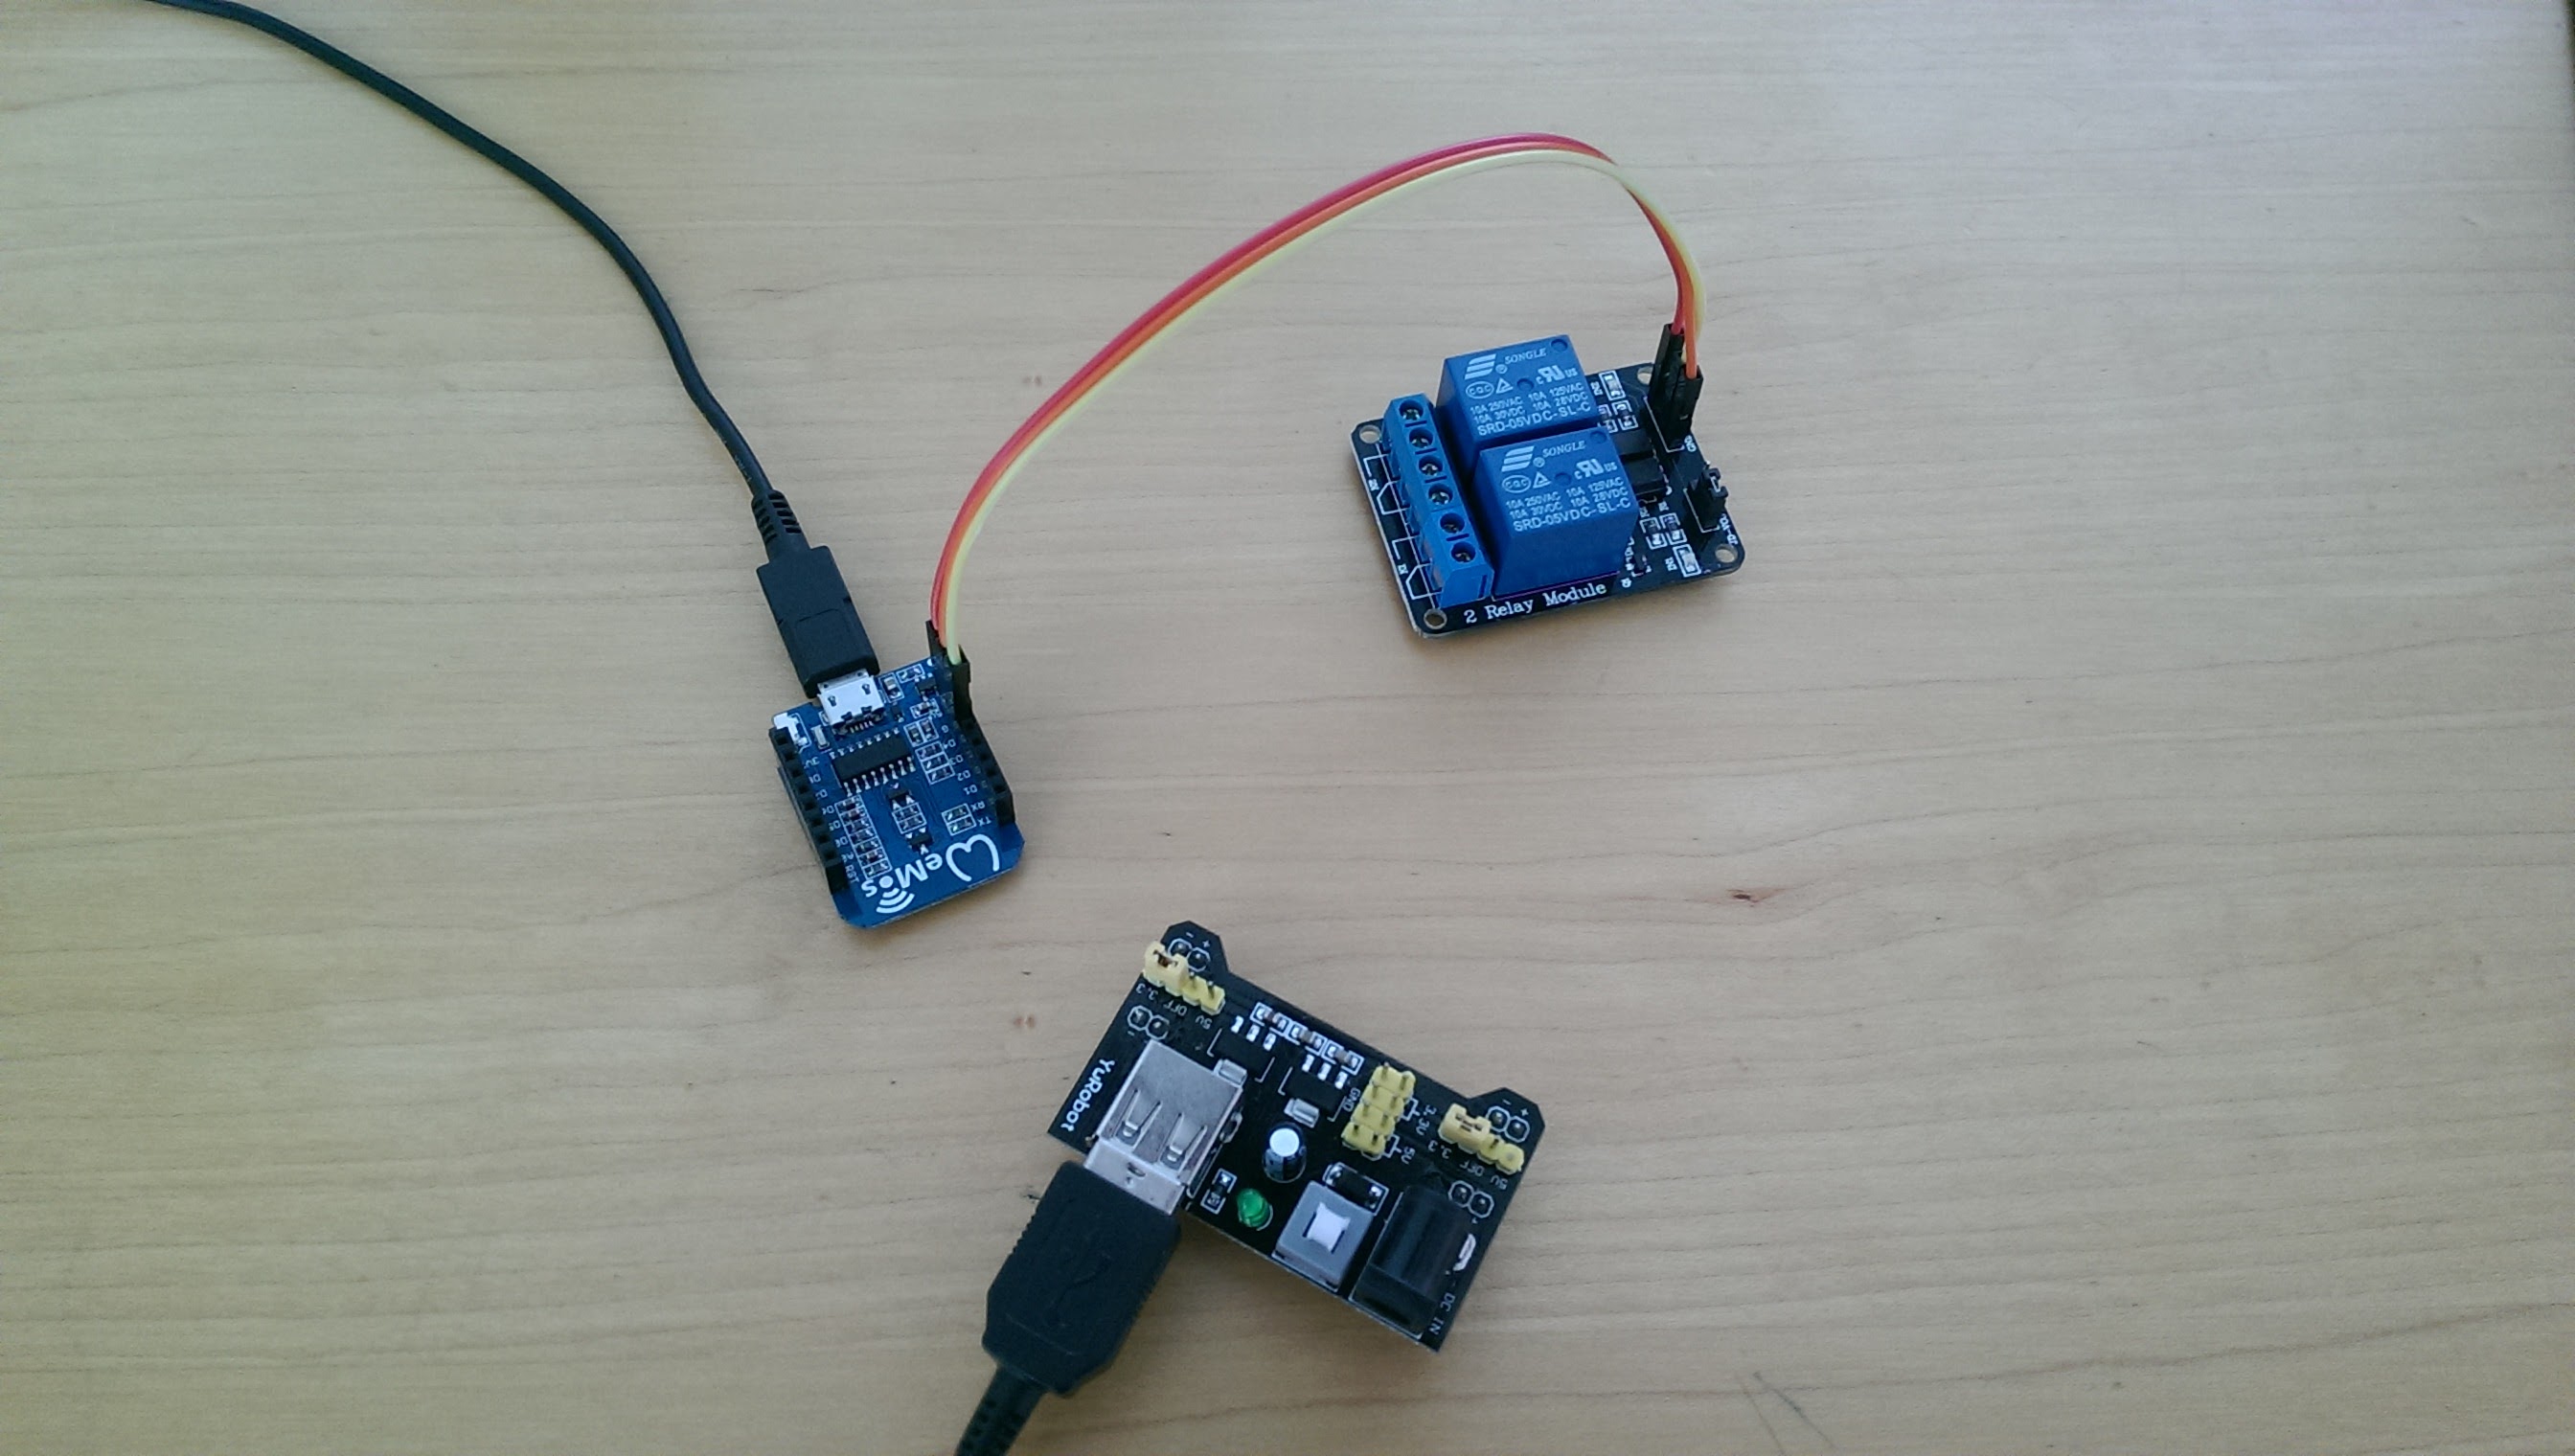
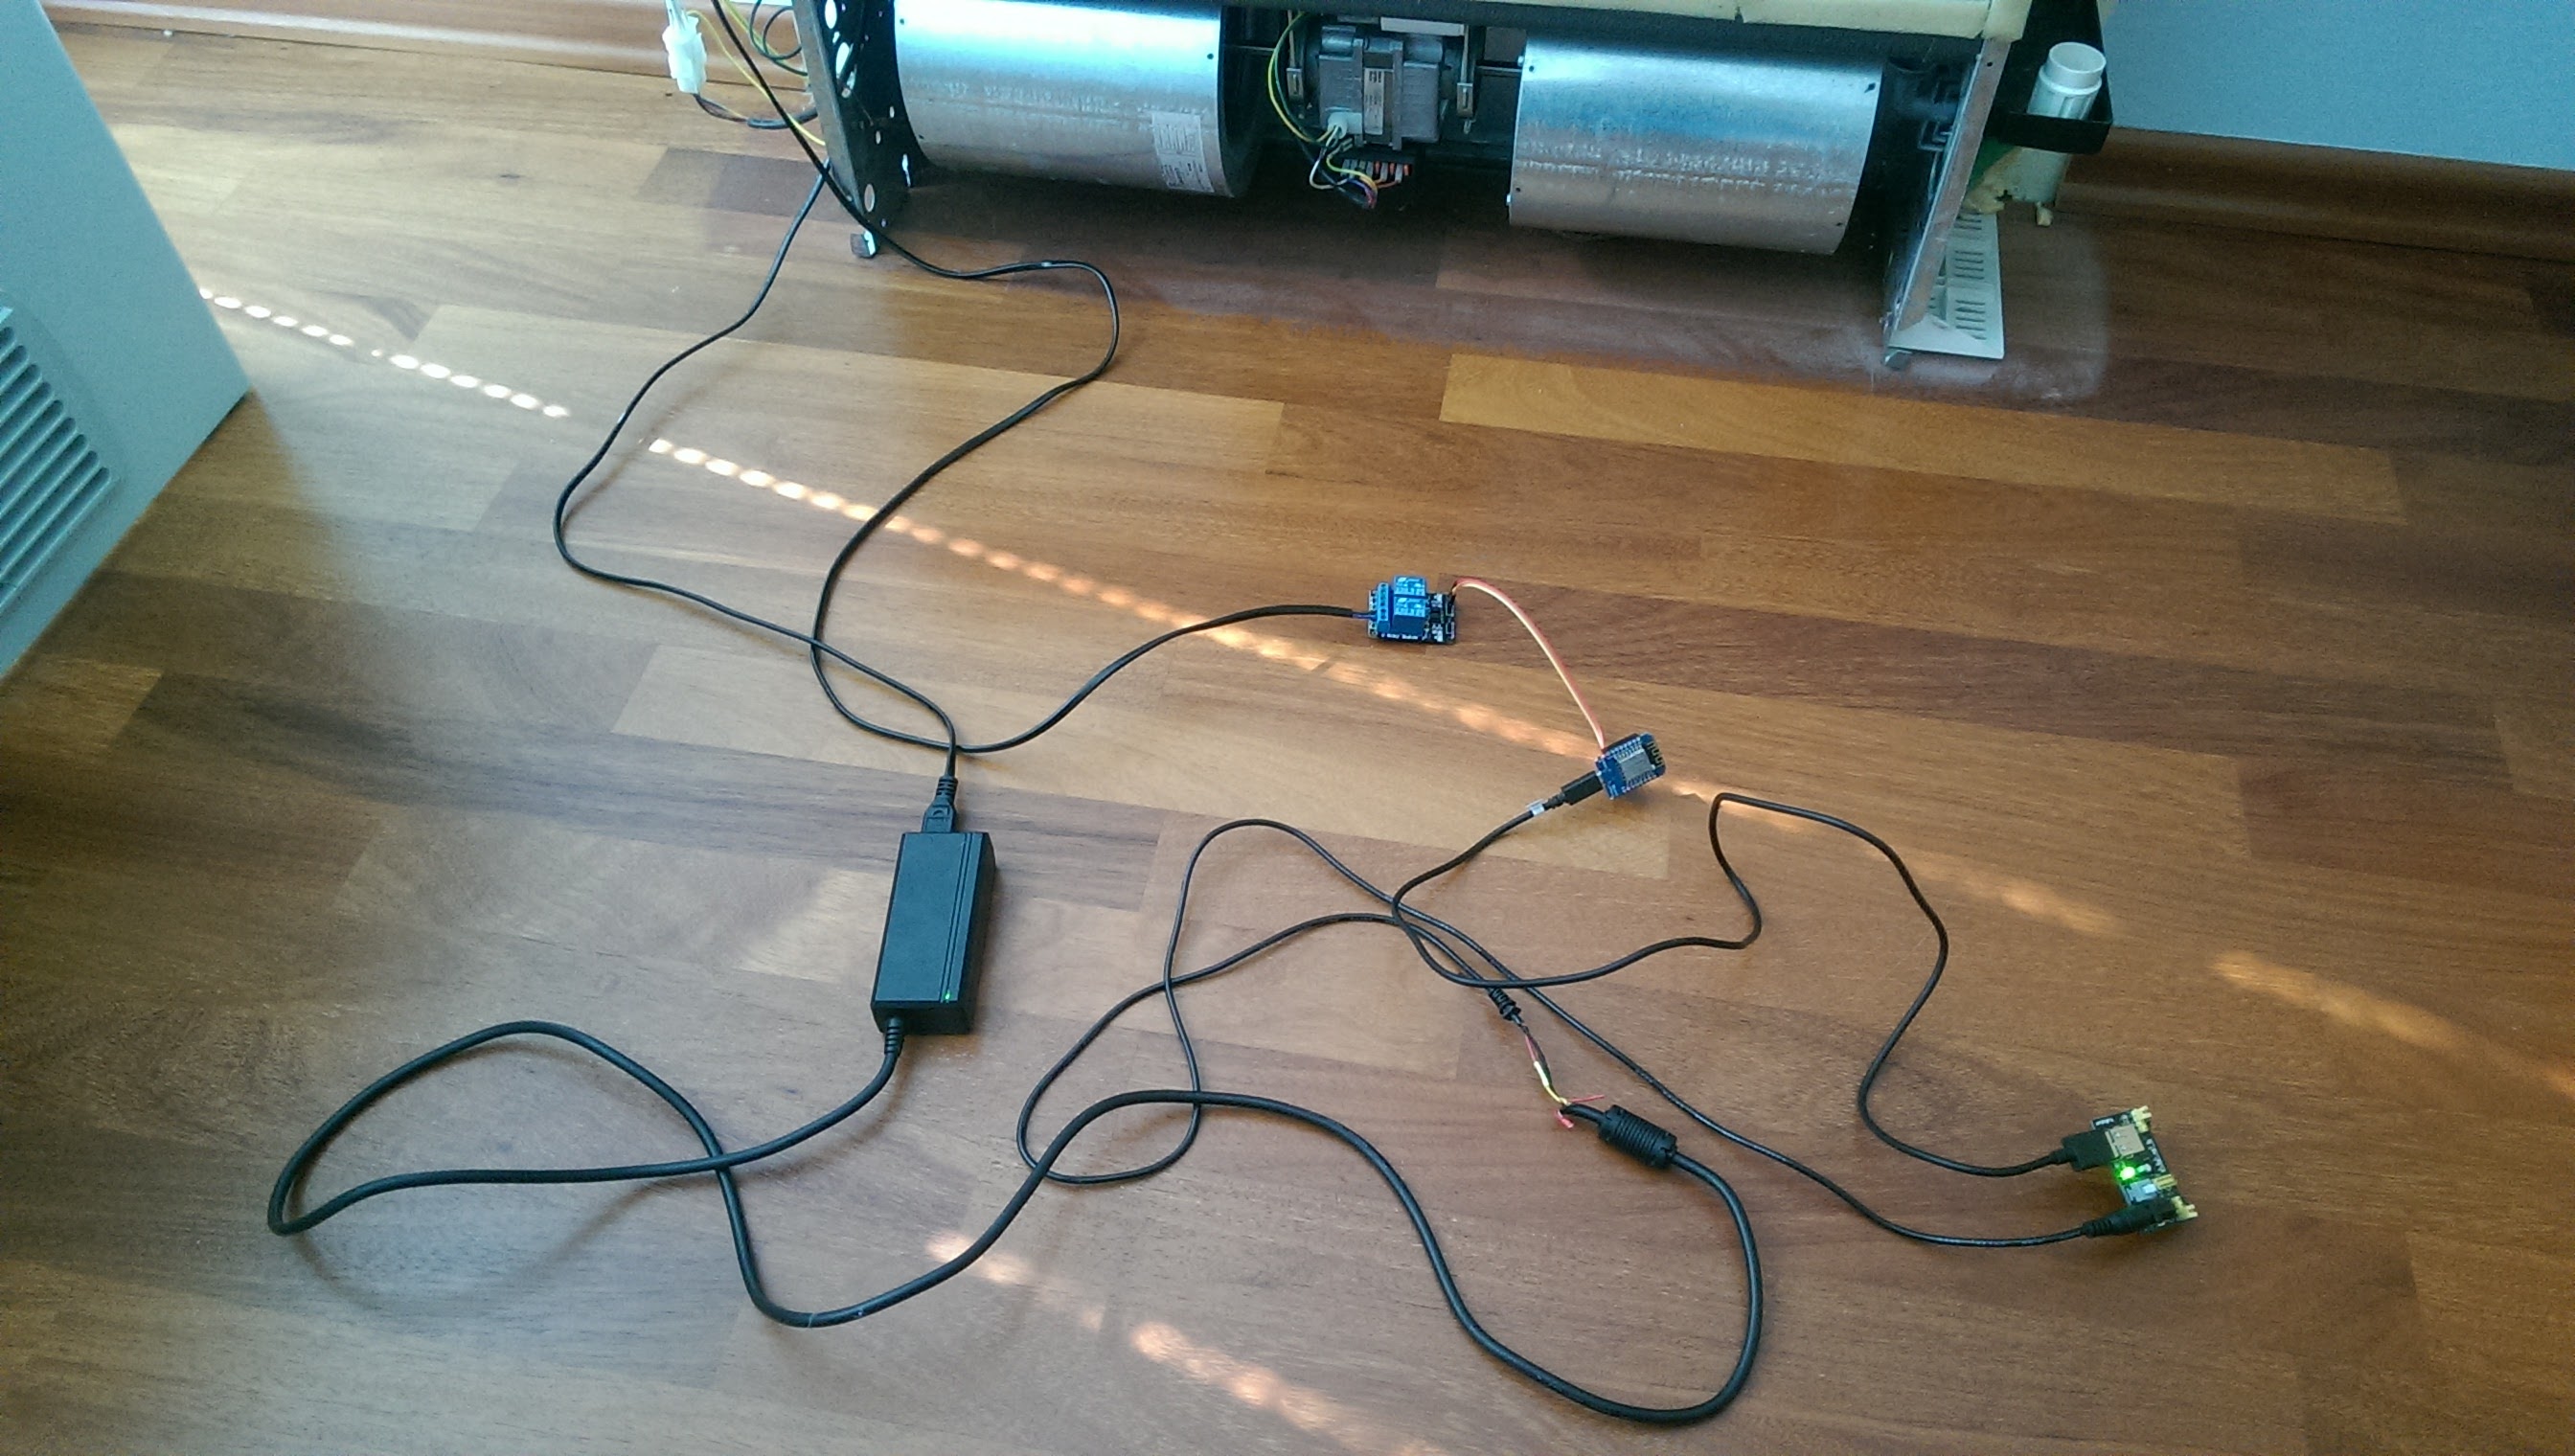
For assembly I connected notebook’s PSU to MB102 PSU module, MB102 to ESP8266 with USB cable and GPIO ports 0, 2 and ground on ESP8266 to Relay module.
I modified ESP8266 library example code and uploaded it on the WeMos ESP8266:
#include <ESP8266WiFi.h>

const char* ssid = "SSID";
const char* password = "wifi password";

// Create an instance of the server
// specify the port to listen on as an argument
WiFiServer server(80);

void setup() {
  Serial.begin(115200);
  delay(10);

  // prepare GPIO2
  pinMode(2, OUTPUT);
  digitalWrite(2, 0);

  // Connect to WiFi network
  Serial.println();
  Serial.println();
  Serial.print("Connecting to ");
  Serial.println(ssid);

  WiFi.begin(ssid, password);

  while (WiFi.status() != WL_CONNECTED) {
    delay(500);
    Serial.print(".");
  }
  Serial.println("");
  Serial.println("WiFi connected");

  // Start the server
  server.begin();
  Serial.println("Server started");

  // Print the IP address
  Serial.println(WiFi.localIP());
}

void loop() {
  // Check if a client has connected
  WiFiClient client = server.available();
  if (!client) {
    return;
  }

  // Wait until the client sends some data
  Serial.println("new client");
  while(!client.available()){
    delay(1);
  }

  // Read the first line of the request
  String req = client.readStringUntil('\r');
  Serial.println(req);
  client.flush();

  // Match the request
  int stat;
  if (req.indexOf("/gpio/0") != -1){
    digitalWrite(2, 0);
  }
  else if (req.indexOf("/gpio/1") != -1){
    digitalWrite(2, 1);
  }
  else if (req.indexOf("/status") != -1){
  }
  else {
    Serial.println("invalid request");
    client.stop();
    return;
  }

  // Set GPIO2 according to the request
  stat = digitalRead(2);

  client.flush();

  // Prepare the response
  String s = "HTTP/1.1 200 OK\r\nContent-Type: text/html\r\n\r\n<!DOCTYPE HTML>\r\n<html>\r\n";
  s += (stat)?"high":"low";
  s += "</html>\n";

  // Send the response to the client
  client.print(s);
  delay(1);
  Serial.println("Client disonnected");

  // The client will actually be disconnected
  // when the function returns and 'client' object is detroyed
}
Module automatically connects to wifi when powered and receives an IP address from router (192.168.1.45 for example). It’s IP may change every time module disconnects from wifi, so I assigned it static IP address on my router.
You can switch GPIO on by sending HTML request to “http://[ESP8266s ip address]/gpio/0” and to turn it off “~/gpio/1”. This is done simply by visiting url in a web browser.
Disadvantage of the code from libraries example is that you can’t tell whether GPIO is on or off. I modified it so that html response includes info about its status when you visit ~/status.
Turning the air conditioner on by typing http://192.168.1.45/gpio/0 into a browser and making sure that it’s on or off by visiting http://192.168.1.45/status it’s not very practical, so I made a simple web interface and added it to my homes dashboard webpage.
<?php
 //get the GPIO status
 $html = file_get_contents('http://192.168.1.45/status');
 if (strpos($html, 'low') !== false) {
     $status = 0;
 }
 else {
   $status = 1;
 }


   if ($_POST["15"] == "1") {
     if ($status == 1) {
       file_get_contents('http://192.168.1.45/gpio/0');
       $status = 0;
     }
     elseif ($status == 0) {
       file_get_contents('http://192.168.1.45/gpio/1');
       $status = 1;
     }
   }
 ?>


 <!DOCTYPE html>
 <html lang="en">
 <head>
   <title>Switch</title>
   <meta charset="utf-8">
   <meta name="viewport" content="width=device-width, initial-scale=1">
   <link rel="stylesheet" href="https://maxcdn.bootstrapcdn.com/bootstrap/3.3.6/css/bootstrap.min.css">
 </head>
 <body>


 <div class="container">
   <div class="col-sm-3">
        <h3>Air conditioner</h3>
         <form  id="form" name="test" action="index.php" method="post">
           <input type="hidden" name="15" value="1"></input>
           <input type="submit" class="<?php if($status == 1) {print("btn btn-primary btn-lg btn-block");} else {print("btn btn-secondary btn-lg btn-block button");} ?>" value="<?php if($status == 1) {print("Turn Off");} else {print("Turn On");} ?>"></input>
         </form>
     </div>
     </div>
 </body>
 </html>
It displays a button with text “Turn on” or “Turn off” depending on the GPIOs current status. When you click it, it sends a html request to the module to change its GPIO state.
You can use as many ESP8266 modules as you want and manage them from a centralized web application.
Edit: Someone on Reddit requested code for managing multiple ESP8266s. So here is the code. To add new module, just add its IP address and name in the array.
<?php
 $devices = array(
     '192.168.1.66' => 'Light1',
     '192.168.1.45' => 'Light2',
     '192.168.1.47' => 'AirConditioner');


 $i = 0;
 foreach ($devices as $ip => $name) {
     $html = file_get_contents('http://' . $ip .'/status');
     if (strpos($html, 'low') !== false) {
         $status[$i] = 0;
     }
     else {
       $status[$i] = 1;
     }
     if ($_POST[$name] == "1") {
       if ($status[$i] == 1) {
         file_get_contents('http://'. $ip . '/gpio/0');
         $status[$i] = 0;
       }
       elseif ($status[$i] == 0) {
         file_get_contents('http://'. $ip . '/gpio/1');
         $status[$i] = 1;
       }
     }
   $i++;
 }
 ?>

 <!DOCTYPE html>
 <html lang="en">
 <head>
   <title>Switch Control Interface</title>
   <meta charset="utf-8">
   <meta name="viewport" content="width=device-width, initial-scale=1">
   <link rel="stylesheet" href="https://maxcdn.bootstrapcdn.com/bootstrap/3.3.6/css/bootstrap.min.css">
 </head>
 <body>

   <div class="container">
     <div class="col-sm-4">
     <h2>Switch Control Interface</h2>
     <? $i=0; foreach ($devices as $ip => $name) { ?>
        <h3><?echo $name;?></h3>
           <form  id="form" name="test" action="index.php" method="post">
             <input type="hidden" name="<? echo $name; ?>" value="1"></input>
           <input type="submit" class="<? print ($status == 1 ? 'btn btn-primary btn-lg btn-block' : 'btn btn-secondary btn-lg btn-block button');?>" value="<?php print ($status == 1 ? 'Turn Off' : 'Turn On');?>"></input>
           </form>
     <?php $i++; } ?>
     </div>
   </div>
 </body>
 </html>
Here is a video demonstration of last years system. Front-end webapp is the same and it functions the same.


Very nicely done. I did nearly the same thing but for a 3phase powder coating oven with a custom Android app.
The examples you provided here are great. I was looking for a way to control a boiler and your example works flawlessly. Is there a way to get the temperature to show on the page also. I am using ds18b20. Any help would be greatly appreciated. In any case thanks for the examples and keep up the good work
There probably is a way. You would need to connect the temperature sensor to ESP8266 and make a program using the same code as for a normal switch, but also include ds18b20s library and code for reading and formatting temperature and add the variable that reads temperature in the html response. Then, using php parse the response in a way to get the temperature in a var. I will try this in the following days and post the source here. 🙂
I found this post to be really enlightening. I am thinking of starting a business catering the IoT sector. Is there a better or cheaper way to connect existing switchboards to the wi fi? I am trying to find a compact module that can be encased and fitted behind the switch boards. I am not familiar with Arduino and stuff, so any kind of help will be really appreciated. Thanks in advance 🙂
Great project. The author is honored and respected. How can you add to code one-button (momentary). When you first make a start, turn on the next time you turn off. With the feedback state in the web.